A beautiful new coat of paint can refresh your home’s entire exterior. But if the old paint beneath is loose, flaking, or bubbling, that fresh look won’t last long. Within months, you may see peeling, cracking, or discoloration—issues that all trace back to one thing: skipping the scraping step.
Scraping old paint isn’t about perfectionism—it’s about creating a clean, sound foundation so your new paint sticks, protects, and lasts. It’s the difference between a short-lived quick fix and a long-term improvement.
In this blog, we’ll break down exactly why scraping matters, what happens if you skip it, how the process works, and when it’s better to bring in the pros.
What Is Paint Scraping and Why It Matters

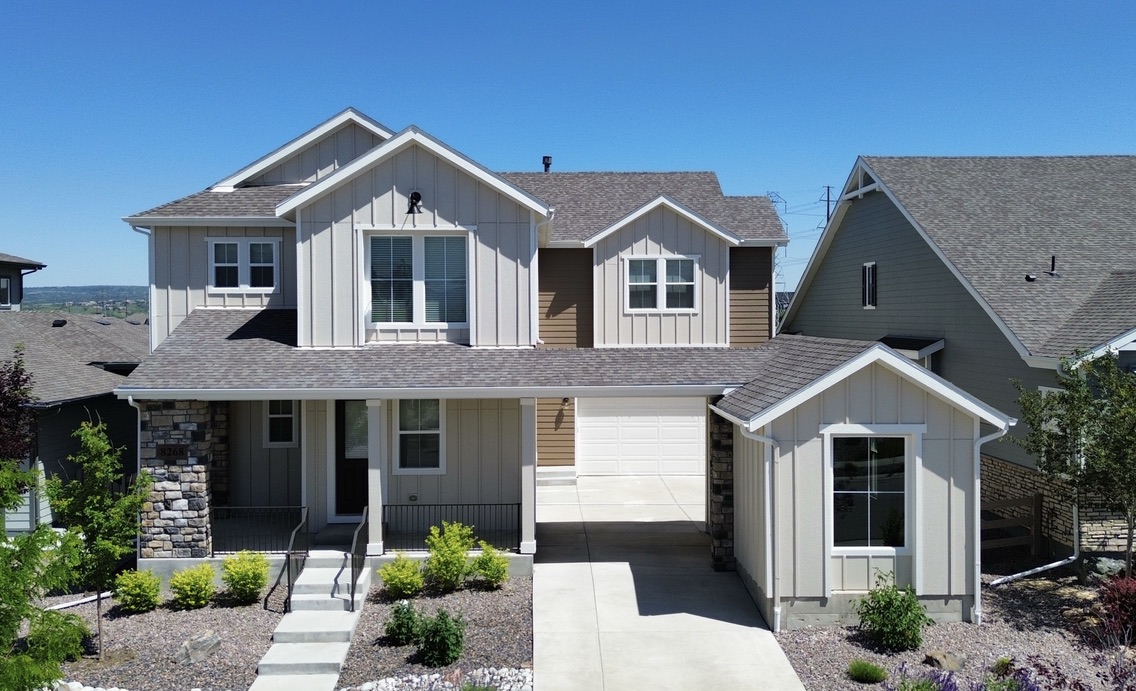
DCIM100MEDIADJI_0245.JPG
Scraping old paint involves removing peeling, flaking, blistered, or otherwise compromised layers from your home’s surface. It’s one of the first hands-on prep steps after pressure washing.
If old paint is no longer bonded to the siding, it can’t support a new coat. Painting over it just locks in the problem—and the result is an unstable finish that may fail within one season.
Benefits of Proper Paint Scraping
- Helps new paint bond properly to the surface
- Prevents peeling, blistering, and premature failure
- Reduces the risk of moisture seeping under loose old paint
Think of it like this: Would you build a new floor over a cracked one? Probably not. The same principle applies here. Scraping is your foundation.
Signs Your Home Needs Paint Scraping
Before repainting, check your exterior for signs that old paint is failing. You don’t always have to scrape everything—but you do have to address problem areas.
Common Clues That Indicate Scraping Is Needed
- Peeling or flaking: Often seen on older wood siding and trim
- Bubbling or blistering: Points to trapped moisture or poor past prep
- Chalky residue: A sign of oxidation when old paint breaks down
Other signs include “alligatoring” (cracked paint that looks like reptile skin), thick paint buildup on trim, or mildew underneath damaged areas. Even small zones of peeling old paint can ruin a large repaint job.
What Happens If You Don’t Scrape Off Old Paint?
Skipping the scraping step might save time initially—but it leads to expensive problems down the road.
Table: Consequences of Painting Over Old Paint
| Problem | Why It Happens Without Scraping |
|---|---|
| Poor adhesion | New paint clings to loose old paint, not the siding itself |
| Bubbling and blistering | Moisture trapped under peeling layers forces the new paint to lift |
| Uneven appearance | Bumpy, cracking, or rough textures show through |
| Shortened paint life | Paint that should last 7–10 years may peel in as little as 1–2 years |
| Repainting costs | You may need to redo everything—this time with proper surface prep |
If you’re investing in a full exterior repaint, don’t let old paint sabotage the job. Surface prep is what makes paint durable—not just the paint itself.
Which Surfaces Require Scraping—and Which May Not
Not all exteriors are the same. Some materials hold paint better than others, and some are more prone to flaking or blistering.
Table: Scraping Requirements by Surface Type
| Definitely Requires Scraping | May Not Require Scraping |
|---|---|
| Wood siding (especially cedar or redwood) | New vinyl or fiber cement in good condition |
| Trim boards, fascia, soffits | Aluminum siding with intact, well-bonded old paint |
| Older homes with thick layers of old paint | Stucco (typically needs patching and cleaning instead) |
| Areas with peeling, cracking, or bubbling paint | Recently painted surfaces in good condition |
Tip: Even if most of your house looks fine, one neglected area of peeling old paint can cause problems across the entire job.
Tools and Methods for Effective Paint Scraping
Scraping isn’t just about elbow grease—it requires skill, the right tools, and attention to detail.
Manual Tools for Removing Old Paint
- Paint scrapers: Used for flaking or blistered zones
- Wire brushes: Remove debris and small paint fragments
- Heat guns: Help soften and lift stuck-on layers of old paint
Power Tools (Use With Caution)
- Orbital or belt sanders: Smooth out scraped areas
- Oscillating tools: Excellent for trim and tight corners
- Paint shavers: Strip thick old paint, but can damage siding if misused
Always wear safety gear: goggles, gloves, and a dust mask—especially if dealing with lead-based old paint.
Lead Paint: A Special Warning for Older Homes
If your home was built before 1978, the old paint may contain lead. Improper scraping can release hazardous dust.
Dangers of Scraping Lead Paint
- Can cause developmental issues in children
- Contaminates soil and indoor air
- Violates EPA safety regulations (RRP Rule)
What to Do If You Suspect Lead
- Test the old paint first (use a lead test kit or hire a pro)
- Do not dry scrape or sand—these spread dust
- Hire an EPA-certified contractor with HEPA vacuums and containment tools
Step-by-Step: How Professionals Scrape and Prep Exterior Paint
Standard Process Used by Pros
- Inspect the Surface
Identify where old paint is failing, and mark problem zones - Protect the Area
Cover plants, windows, and walkways with tarps or sheeting - Scrape Loose Paint
Work from the top down using the right tools for each surface - Feather and Sand
Blend scraped edges into intact paint for a smooth transition - Clean the Surface
Remove dust and residue to ensure proper primer and paint bonding - Prime Bare Surfaces
Seal exposed wood, patchwork, or previously scraped areas - Final Check
Ensure the entire surface is clean, dry, and paint-ready
This level of prep isn’t optional—it’s what professional painters include as part of their full service.
DIY vs. Hiring a Pro: What’s the Better Option?
DIY Paint Scraping
- Can save on labor costs
- May be rewarding for hands-on homeowners
- Allows full control of pace and materials
But it’s time-consuming, physically demanding, and risky if old paint is lead-based or in poor condition.
Hiring a Professional
- Brings deep expertise on where and how to scrape
- Cuts prep time from weeks to days
- Includes proper safety equipment and surface repair tools
- Leads to longer-lasting results because prep is thorough
If your home is tall, older, or has significant layers of old paint, a professional is the safest and smartest choice.
Scraping Is Just One Part of Quality Exterior Paint Prep
Scraping is essential—but it’s one step in a broader process. To protect your investment, every phase must be done right.
Standard Exterior Painting Prep Sequence
| Step | Purpose |
|---|---|
| Pressure Washing | Removes dirt, pollen, and mildew before manual prep begins |
| Scraping | Eliminates loose or failing old paint |
| Sanding | Smooths surfaces and feather edges |
| Repairs | Fixes rot, gaps, or cracks in wood or siding |
| Priming | Seals bare or patched areas before painting |
| Painting (2 coats) | Ensures full coverage and long-term weather resistance |
Skipping even one of these steps—especially scraping—can compromise the entire project.
Scrape Smart, Paint Smarter
Scraping old paint isn’t glamorous. It’s dusty, noisy, and time-consuming. But it’s absolutely essential if you want a paint job that lasts for years—not months.
Whether you’re doing it yourself or hiring a professional, don’t cut corners on surface prep. It’s the difference between painting over a problem—and solving it for good.
Ready to Repaint with Confidence?
We offer full-service exterior painting—and that includes expert prep work like scraping old paint, sanding, priming, and repairing surfaces before a single drop of color goes on.
Contact us today for a free estimate. We’ll inspect your home, explain exactly what needs scraping or sanding, and make sure your new paint lasts as long as it should.